
Kingfordは「高品質、短納期、小量の試作生産から量産まで」というお客様のニーズにお応えします


DetaiLED operation tutorial of placement machine
SMT Industry Introduction
SMT (Surface Mount Technology). As a new generation of electronic assembly technology, SMT products have penetrated into various fields. SMT products have the advantages of compact structure, SMAll size, vibration resistance, high production effICiency, etc. surface mount technology occupies a leading position in the Circuit board assembly process. Main equipment of SMT assembly line: printing machine, mounting machine, reflow soldering, etc.
Detailed Operation Tutorial of Mounter
1. Preliminary inspection
1. Check whether the pressure gauge of the mounter is between 0.4.0-0.55Mpa and whether the power connection is normal.
2. Check the thermometer and hygrometer at the production site, and confirm that the thermometer and hygrometer in the working environment are within the specified temperature range (20-28 ℃, 50-60 atmOSPheric humidity). If the working environment changes, it should be adjusted immediately.
3. Establish 6S standards for the machine and work, and check whether there are foreign matters in the interior, guide rail, conveyor belt, placement head, bracket and other moving parts, and whether there are foreign matters in the moving range. If there are foreign matters, they should be cleaned in time. Whether the emergency stop button is reset and whether the front guard is normally closed.
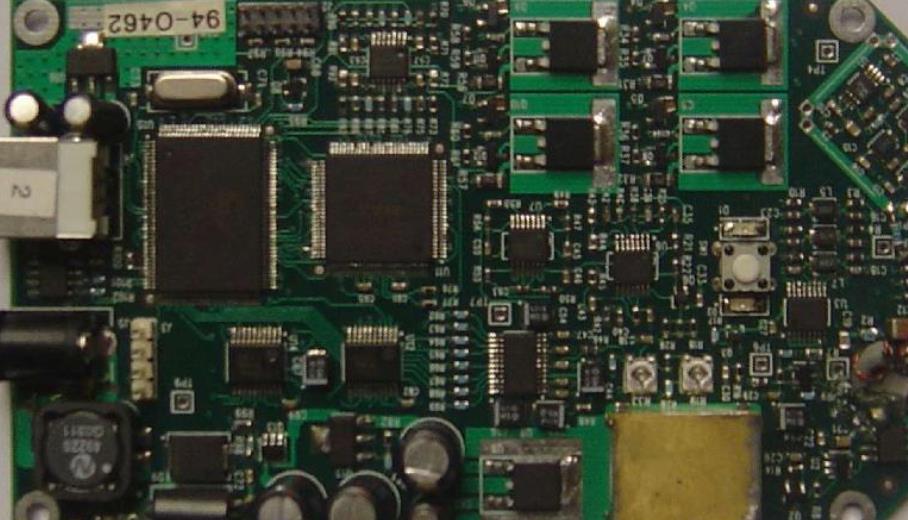
Circuit board

4. Make sure that the feeder of the machine is firmly fixed on the feeder and does not float. There are no foreign objects on the feeder.
5. Confirm that the suction nozzle is free of defects, sticky paste and rebound
2: Operating Steps
1. Open
(1) Turn on the main control power switch of the chip mounter
Turn the main control power switch to the right, so that the switch arrow points to the ON position. The main control power is turned on, the mounter host is powered on, the computer starts, executes the device hardware detection (automatic completion), loads the program required for machine operation, and the display page is initializing.
(2) Return to origin
After initialization, press the Back to Origin button with the mouse, and the device will automatically return to the origin. After returning to the original point, it will automatically enter the interface.
2. Warm up
The first step is to click the preheating button to enter the preheating interface.
Step 2: On the preheating interface, click Stop at the specified time;
Step 3: Input the warm-up time in the warm-up time text box, generally 10 minutes.
Step 4: Press Start, and the mounter will enter the preheating operation
Step 5: After preheating, press the close button to complete preheating and return to the main interface.
3. Production
(1) Select a board program
In the first step, the user clicks the substrate selection button on the production design page to enter the substrate selection window;
The second step is to find the chip program to be generated in the substrate selection window and click to select it, then click the selection button to complete the substrate selection operation. The machine reads the base plate data and returns it to the main interface.
1. Adjusting guide rail
Click the equipment conveyor conveying width button in the main interface to enter the conveying width interface. Enter the width of the base plate in the changed transfer width, and click the "OK" button to adjust the width of the guide rail. The user puts the base plate down from the guide rail of the docking station, transfers the base plate to the smt placement machine, and gently pushes the base plate back and forth with his hands to confirm that there is a small gap of about 1mm in the transfer rail
4. Inspection data
Click the production design button in the main interface, click the button in the lower left corner (feeder list), move the scroll bar to view the position of the materials in the bill of materials window, and then install the feeder according to the installation position.
Steps for installing feeder:
1. Press the emergency stop button to open the top cover of the machine.
If the feeder is installed without stopping the mounter, there is a risk of being caught by the mounter.
2. Clean the dust on the feeding rack
If parts or dust are caught in the feeder, the feeder will tilt and the adsorption will become unstable.
3. Installation of feeder
Lift the feeder handle, align it with the feeder installation position, insert it into the positioning hole, and slide it on the guide rail at the same time.
4. Confirm whether the feeder is installed, whether the cover tape is loose, and whether it is inserted correctly.
5. Start production
1. Release the emergency stop button, press the Ready button on the operation panel, and turn on the servo motor power.
2. After confirming safety, press the start button on the operation panel.
3. After the inlet sensor senses the substrate, the conveyor belt starts to rotate, transfers the substrate to the working position, and starts to install the components.
4. When the green indicator light is on (automatic operation), it is strictly prohibited to enter the mounting head
6. Shutdown
(1) Save Program
After the production is completed, press the SOTP button on the operation panel to exit the production status, click the substrate save button on the interface, open the substrate save window, and click the close button in turn to save the substrate data.
(2) Shut down the host
Press the power off button on the interface and follow the prompts in the pop-up dialog box. When the display screen displays restart, turn off the main control power switch.
The above is the explanation given by the editor of PCB circuit board company.
If you want to know more about PCBA, you can go to our company's home page to learn about it.
In addition, our company also sells various circuit boards,
High Frequency Circuit Board and SMT chip are waiting for your presence again.


Telegram
Gerberファイル、BOMファイル、および設計ファイルをアップロードするだけで、KINGFORDチームは24時間以内に完全な見積もりを提供します。